How to Check the Freon in a Home Air Conditioner
We know that a working AC is essential during those high summer temperatures, or even heat waves, that come rolling in from time to time. If you’re looking for tips on how to check the Freon in a home air conditioner, you’ve come to the right place.

Below, we’ll teach you everything you need to know about the process. From the tools you need to explaining how much Freon is necessary.
It’s a fairly simple process once you understand it. Let’s dive in and learn more about making sure your air conditioner is running smoothly and safely.
Definition of Freon
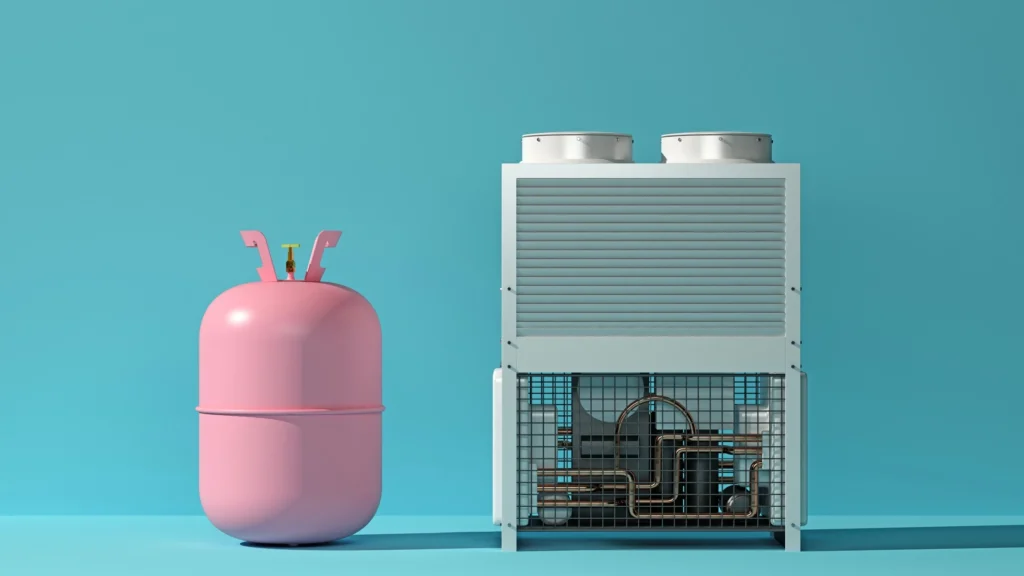
Freon is a refrigerant gas commonly used in air conditioners and other cooling systems. It cools the air entering the AC unit by absorbing heat from inside your home.
Checking Freon levels can help ensure that your air conditioner is running efficiently, and doing this regularly is essential.
What Are the Signs of Low Refrigerant Levels?
Checking the refrigerant levels inside your home air conditioner is essential, as it can affect its performance. Some tell-tale signs can identify low refrigerant levels.
For example, An AC unit with low refrigerant levels will run constantly without cooling the house efficiently, or it won’t even turn on at all.
The coils in an AC unit that is low on refrigerant may also freeze up, making it difficult for air to pass through and cool down your home.
Additionally, you may notice a dramatic increase in your energy bills due to a system struggling to reach optimal temperature with inadequate refrigerant levels.
If you spot any of these signs in your own AC unit, then it’s time to learn how to check the Freon!
Steps to Check the Freon in a Home Air Conditioner
Do you want to know how to check the refrigerant level in your AC? There are a few simple steps that you can take, and we’ll discuss each of them in detail below.
How To Check Freon Levels: Safety Considerations
Before you take any steps to check the Freon level, ensure you’re taking safety precautions.
Shut off power to the AC unit using either the circuit breaker or fuse box before touching any part of it.
Wear protective gloves and eyewear when handling anything related to the unit’s components, including checking for Freon levels.
Gathering Materials Needed
Before attempting to check the Freon in your home air conditioner, gather the materials needed for the maintenance. You’ll need the following:
- A test kit designed to check and analyze refrigerant levels
- A set of protective goggles
- Some gloves or other protective clothing.
Preparing the Unit for Maintenance
Before learning how to check the freon in a home air conditioner, or examining the unit, ensure you shut off power to your air conditioner at both the thermostat and circuit breaker panel.
Once these are deactivated, open up the access panel on your AC unit and locate the Schrader valve with a screwdriver or pry bar. Be careful not to damage any pipes or other exposed wires while opening this up.
The Schrader valve is usually located near the coils inside the unit and looks like a small metal cap with a pin-sized hole in the center.
Locating Refrigerant Lines and Pressure Gauges
Locating the refrigerant lines and pressure gauges is key to ensuring that the right amount of Freon is being used in your home’s air conditioner. You first need to locate the two copper tubes that run from your AC’s compressor to the condenser coil.
You should be able to identify these by their insulation coating. Once located, attach a gauge manifold set onto the service ports found at each end of the thin copper tubes.
Checking the Pressure with the Gauge Manifold Set
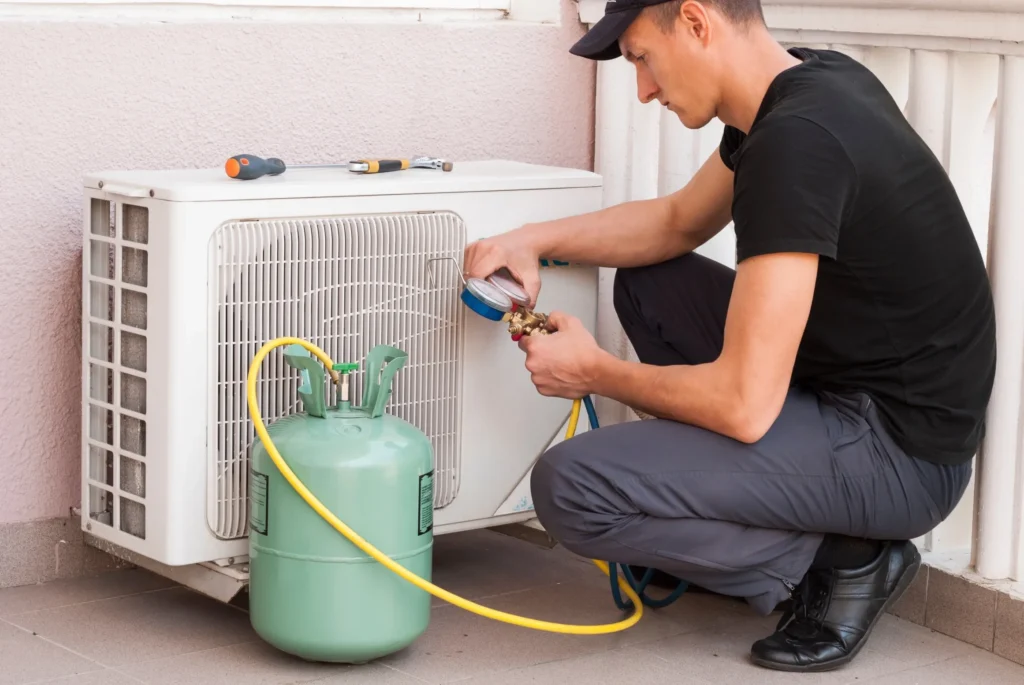
With the gauge manifold set attached, check what kind of pressure is currently running through your AC system by looking at the high-side and low-side gauges on either side of it.

The high-side gauge will typically read a much higher number than the low-side gauge; this indicates that Freon is maintaining normal levels for optimal cooling performance.
If either one or both are reading too low, your system may be leaking Freon and will need repair work done as soon as possible.
Adjusting Freon Levels as Needed
If needed, adjust the freon levels by connecting one end of a set of charging hoses securely onto your refrigerant tank and connecting the other end onto a low side valve on your air conditioner unit.
Then open up both valves and allow the new refrigerant gas into your system until you reach optimal pressure (25-30 psi).
Once this has been achieved, turn off both valves and wait for a few minutes before moving on to step three – testing the temperature differential across coils. During all steps, you must wear protective gear such as gloves and eyewear for safety precautions!
Ensuring Proper Disposal of Refrigerant and Cleanup
Once you’ve finished adjusting your freon levels, properly dispose of any remaining refrigerant by taking it back to an EPA-approved recycling center or using an approved recovery machine if available at home.
Also, remember that proper cleanup includes disposing of used gloves, eyewear protection items, or any other materials used while completing this task safely – they must be disposed of in accordance with environmental regulations established by local authorities!
Testing Your Work and Enjoying a Cool Home
Now that you know how to check the freon in a home air conditioner and have followed all the steps, it’s time to test your work and enjoy a cool home. To do this, turn your thermostat back on and wait 10-15 minutes. This should give the AC unit enough time to start up again.
Once it has started, feel around each room of the house with your hands and make sure they’re all cooling down evenly. If some rooms are still lukewarm or too warm, you may need to check other system parts, such as ducts or thermostats.
If In Doubt, Don’t!
Remember that checking the Freon in an AC unit is not a task for amateur DIYers. It can be difficult and dangerous if done incorrectly, so calling a professional may be best if you don’t know how to check the freon in a home air conditioner. It’s also worth considering if you’re having difficulties or still feeling uncomfortable after completing the steps listed above.
It can be tempting to try and save a few bucks by taking on the job yourself, but checking your Freon levels is an extremely complicated job and not something that should be done without proper training.
Not only do you need specialized equipment to complete the job, though these kits are available online, but you must also ensure you’re following all safety protocols.
A qualified AC technician will know how to check the Freon in your AC unit and ensure everything is up to code.
It may also be more cost-efficient in the long run as they’ll likely spot any other issues with your air conditioning system at the same time.
How To Check the Freon in a Home Air Conditioner: Conclusion
Checking the Freon levels in a home air conditioner is a crucial step to maintaining optimal performance. Let’s recap the essential parts of how to check your AC refrigerant level.
- Turn off and unplug the unit
- Locate and remove the access panel
- Measure the pressure on each side of the valve
- Add Freon if needed according to your air conditioner’s manual
- Replace the access panel after
- Plug in and turn on your AC.
Now you know how to check Freon levels. It really is that simple!
Checking your Freon levels helps prevent inefficient operation of your air conditioner, and extends its lifespan.
By regularly inspecting for proper Freon levels, you can catch any issues before they become serious problems that require costly repairs or replacements.
Ensuring that your AC has enough coolant helps maintain energy efficiency at peak levels so you won’t be spending more money than necessary on cooling costs this summer!
