How to Repair & Replace an Air Conditioner Capacitor
An AC capacitor is an essential component in all air conditioning units. It ensures that high-energy components get the burst of energy they need to start. Compressors and fans are prime examples of system components that may require that energy boost.
Faulty capacitors may lead to a range of different symptoms, including an AC unit that keeps starting and stopping or won’t come on at all. The unit may also produce strange smells and noises and even start smoking.
When solving a capacitor problem, it is essential to adhere to strict safety protocols to protect yourself from harm. Read our comprehensive guide below to learn exactly how to replace your AC capacitor.
What Is an AC Capacitor?
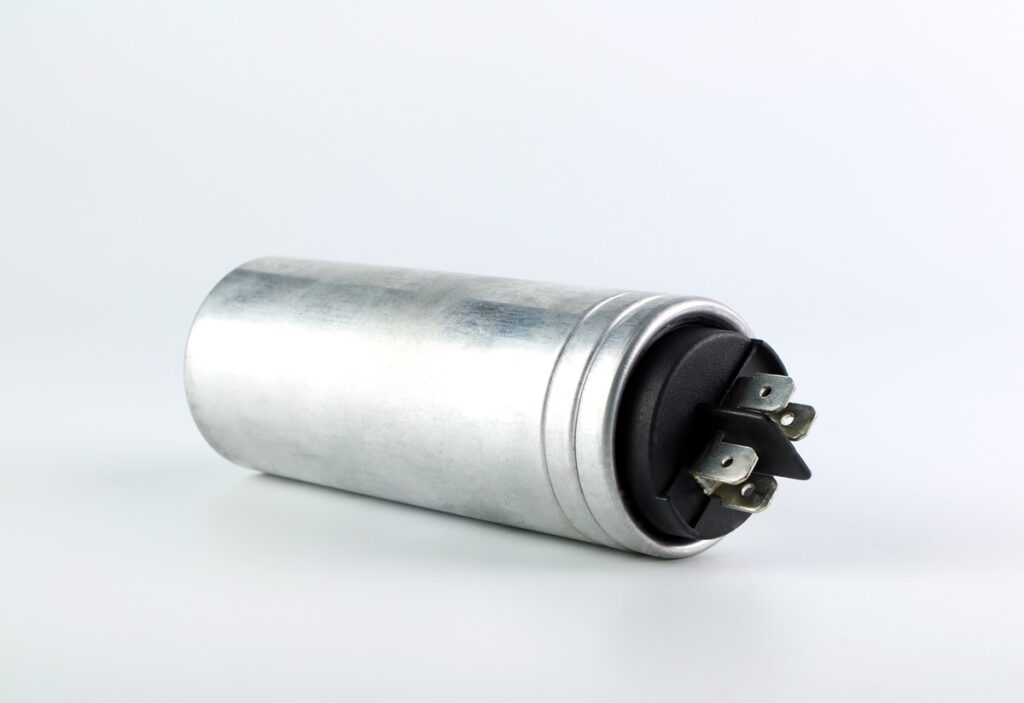
An AC capacitor is a device that stores electricity. As mentioned, some system components may require higher energy flow than others to get started. A compressor, for instance, may require an energy boost to get going.
Once these components start up, they can generally run on the standard energy flow. The capacitor stores and releases sufficient energy to start these components without placing additional strain on the electrical system in the home.
There are two main types of capacitors. Start capacitors are the most common, and they simply provide a burst of energy long enough to get the component up and running.
Run capacitors feed energy to the component the entire time that the device is running. They store energy not used by the other system components and feed it into the components that require more energy.
When looking for a new capacitor, you need to consider two essential classification characteristics. The first is microfarads, a measurement of capacitance that allows you to gauge how much electricity a capacitor is capable of storing.
The other is voltage rating. Each capacitor is rated for a specific voltage, which is the maximum voltage that you can safely expose a capacitor to. Both of these ratings are essential as they help you to determine which capacitor is capable of meeting your needs.
| Feature | Run Capacitor | Start Capacitor |
| Purpose | Provides continuous power to the motor | Provides extra torque to start the motor |
| Duty Cycle | Continuous | Momentary |
| Typical uF rating | 3 – 70 | 70 and above |
| Voltage Classification | 370V, 440V | 125 V, 165 V, 250 V, or 330 V |
Symptoms of a Faulty AC Capacitor
So, how do you know that your unit is ready for air conditioner capacitor replacement? There are several different symptoms that can help you understand that you need to replace an AC part.
Some of these may include the following:
- Your AC isn’t blowing cold hair as you’d expect. This is mainly because the capacitor responsible for activating the compressor, fan, motor, or another system component isn’t working as it should.
- The unit is making humming noises. This could be because the capacitor isn’t powering system components as it should.
- Your AC unit is either struggling to start or switching off and on repeatedly. If the capacitor is faulty, it could keep powering down, requiring a restart.
- You notice visible damage to the capacitor, such as malformation, leaks, burns, or other signs.
| Symptom | Potential Causes |
| Warm Air | Capacitor failure prevents the compressor from starting, leading to ineffective heat removal. |
| Humming Noises | Capacitor damage causing the compressor to work harder, resulting in unusual sounds. |
| Burning Smell from Condenser Unit | Capacitor failure causing improper compressor operation and potential component overheating. |
| Increased Energy Bills | Capacitor damage forcing the compressor to work overtime, increasing energy consumption. |
| Air Conditioner Turns off Suddenly | Capacitor malfunction disrupting the normal operation of the air conditioner. |
| Air Conditioner Unit Doesn’t Turn on | Capacitor failure prevented the compressor from starting, hindering the AC unit’s operation. |
| Aging HVAC System | Natural wear and tear of the capacitor over time in an older air conditioning system. |
Safety Precautions Before Repair or Replacement
When dealing with electricity, safety is paramount. Try to adhere to the following:
- Switch off the power supply before doing anything.
- Wear insulated gloves.
- Use insulated tools.
- Capacitors store energy, so discharge them before handling them.
Tools and Materials Needed
When replacing an AC capacitor, you require fairly minimal tools. These include the following:
- A new capacitor
- An insulated screwdriver
- Insulated work gloves
- A shifting spanner or socket set
- A multimeter (if you wish to test the old capacitor)
- A screwdriver for removing the AC unit’s outside panel.
Step-by-Step Guide to Replace an AC Capacitor
Now that we’ve looked at what the capacitor is, what it does, and how to identify a faulty capacitor, let’s take a closer look at how to replace an AC capacitor.
Step One: Turn Off the Power Supply
The first thing you need to do when preparing to perform an AC capacitor replacement is to deactivate the air conditioning unit. This means turning off not only the AC unit itself but also the breaker providing power to it.
It is essential to do so, as failure to do so may result in electrocution or death. Never work on the air conditioning unit without cutting off the power supply.
Step Two: Locate the Capacitor
The next question you need to ask is, “Where is the AC capacitor located?” Once you’ve removed the appropriate panel so you can get access to the aircon components, you should see the capacitor easily. In most units, it will be located near the compressor or fan motor. It is a cylindrical component with wires coming out of it.
At this point, you may want to know how to test the capacitor on an AC unit unless you’re 100% sure that the AC capacitor is faulty. However, you can only do this after discharging and removing the capacitor, so we’ll discuss that later.
Step Three: Discharge the Capacitor
Knowing how to discharge an AC capacitor is essential if you want to safely replace it. Simply use an insulated screwdriver (be sure to hold it by the insulated part of the screwdriver) to touch two terminals at the same time.
Touch them together in pairs until you’ve touched all of them, and they stop making sparks. Doing so will short-circuit the capacitor and allow the energy to escape, rendering it safe to handle.
Step Four: Remove the Faulty Capacitor
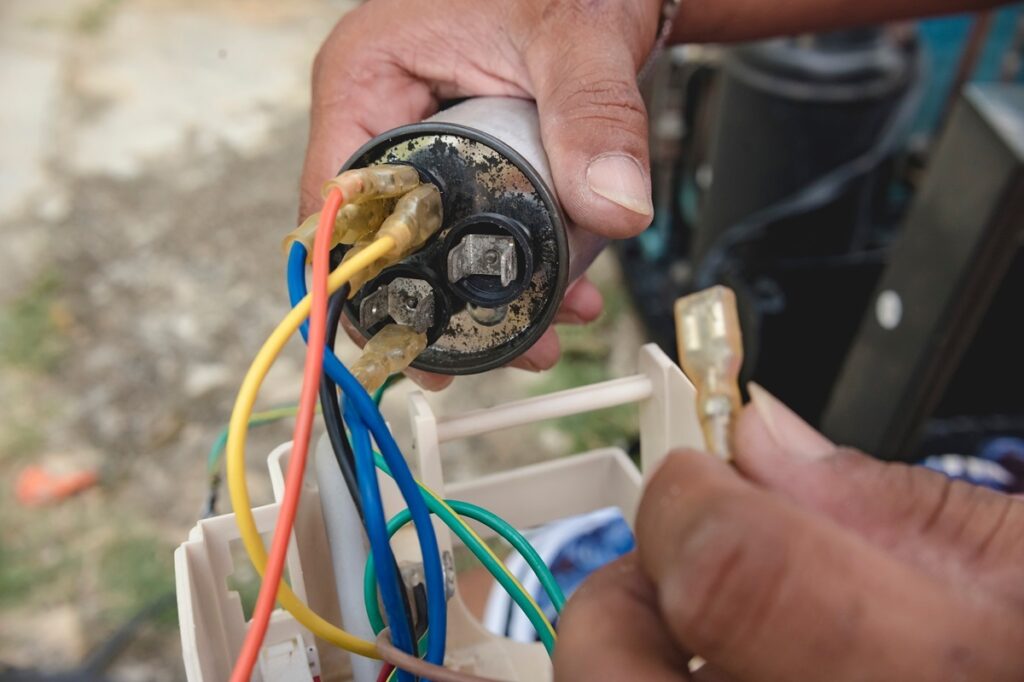
Next, you can remove the capacitor. Simply disconnect the wires (it’s best to use insulative gloves to be on the safe side), taking careful note of where the wires are connected so you can install the new capacitor.
Unscrew the bracket holding the capacitor in place, and remove the capacitor.
Optional Step: Testing the Capacitor
Once you’ve removed the capacitor, you may wish to test it if you’re unsure whether the capacitor is the problem. All you need for this is a multimeter.
Simply set the multimeter to the capacitance testing setting, and attach the capacitor’s test leads to the capacitor terminals. Leave it for a few moments, then read the provided value. If it is within range of the capacitor’s microfarad rating, then the capacitor is probably okay. Generally, a faulty capacitor will give a reading outside that range.
Step Five: Install the New Capacitor
Next, install the new capacitor in the same place where the old one was. Ensure that you orient it the same way that the old one was oriented. Replace the bracket that holds the capacitor in place and screw it into place.
Step Six: Reattach Wires and Close the Unit
Finally, reattach the wires to the correct terminals. You should have noted the wire placement when removing the old capacitor. If you haven’t, try to find a wiring diagram for your specific model.
Attach the wires correctly, and then close the AC unit again.
Step Seven: Test the AC Unit
Now that you’ve installed the new capacitor, you’re ready to test the device. Simply power the circuit breaker back on, power up the AC unit, and set it to cool. If it starts cooling within a few moments, you’ve successfully fixed the problem. If not, it’s time to call a repair professional.
Common Mistakes to Avoid
When replacing an AC capacitor, there are some common mistakes that you should avoid at all costs. These include the following:
- Buying the wrong type of capacitor, one with the wrong voltage rating, or one with the wrong capacitance – You can easily avoid this mistake by checking the details on the old capacitor before buying a new one.
- Not discharging the capacitor – When you don’t discharge the capacitor before removing it, you create a high degree of risk. Follow the steps above to help you discharge the capacitor before removing it.
- Not securing the wires properly – Many people forget to secure the wires properly when installing a new capacitor. It’s important to ensure that each wire is properly secured, whether through a screw or another built-in fastener when reassembling the AC.
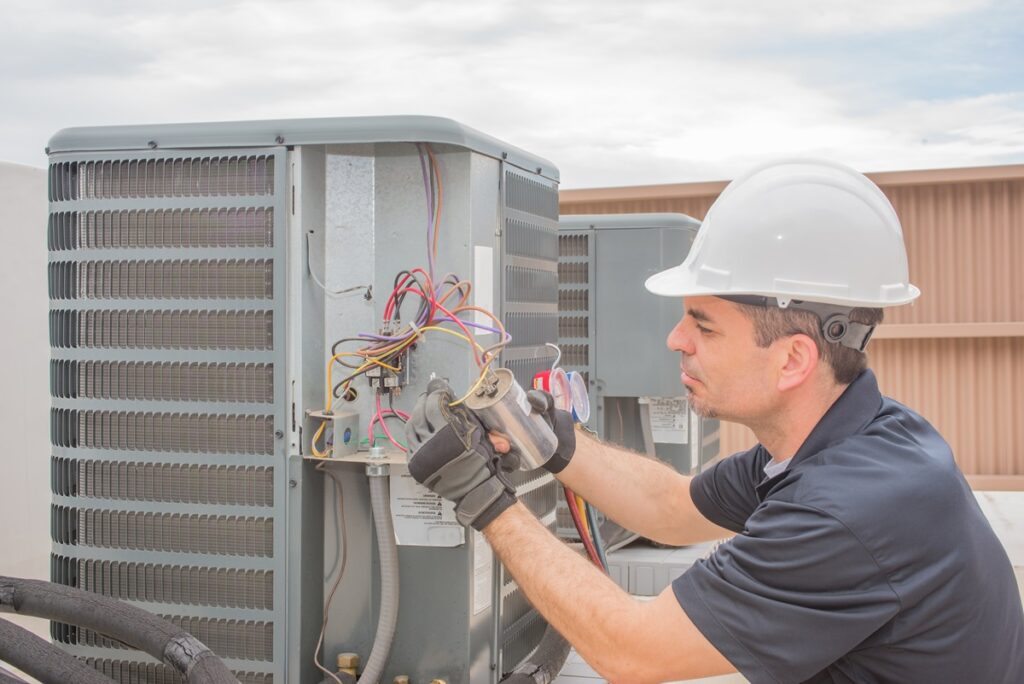
When to Call a Professional
In some cases, it isn’t advisable to try and perform the capacitor replacement yourself. If the problem is not easy to repair (or the capacitor is hard to access by yourself), consider calling in a professional.
Some examples of this kind of situation include the following:
- When the capacitor is in a hard-to-access location, trying may be dangerous.
- When multiple systems are damaged and require repair or replacement.
- When you’re not confident in your ability to perform the replacement.
If any of these things are true, please contact us. We’d love to help you with the repair.
Cost of Replacing an AC Capacitor
On average, you can expect to pay around $20-$75 if you do the installation yourself. Some capacitors may be more expensive, but they don’t tend to be.
However, if you pay someone to install a new capacitor, you may see this cost go up to as much as $200.
Preventive Maintenance Tips
AC maintenance helps prevent capacitors from dying prematurely. So, if you want to ensure that your AC capacitor lasts as long as possible, try to implement the following:
- Clean the system regularly.
- Use a surge protector to protect the system from power surges.
- Don’t run the AC non-stop. Try to give it a break every now and then.
- Capacitors will last longer under cooler conditions, so keep the room temperature cool.
- Ensure that your AC unit gets regular scheduled maintenance.
FAQs About AC Capacitors
How long does an AC capacitor last?
The average lifespan for an AC capacitor is around 10 years, though it may be as few as five or as many as 20. It depends on factors like maintenance, regularity of use, and even climate.
Can I use a capacitor with a higher voltage rating?
Yes, you can. It is safe to replace a capacitor with a higher voltage rating but not a lower voltage rating.
What happens if I ignore a faulty capacitor?
If you ignore a faulty capacitor, it can lead to secondary problems and even result in damage to other system components. At the least, it will prevent your AC unit from functioning as it should.
What does a capacitor do in an air conditioner?
A capacitor helps provide high-energy components with the energy they require to function or start. Many components can’t draw enough power from a standard power feed, and capacitors compensate for this.
Conclusion
As you can see, replacing an AC capacitor is fairly straightforward, but may not be for everyone. Try to stay up to date on aircon maintenance and you can extend your capacitor’s lifespan significantly.
But, if you aren’t sure you can handle replacing the capacitor, consider contacting us to do it for you. We’d love to get your aircon unit in shape and working.